
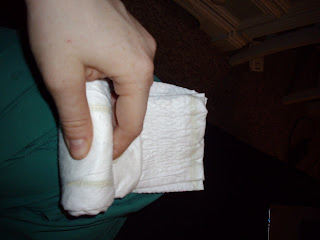

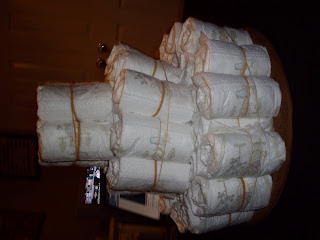
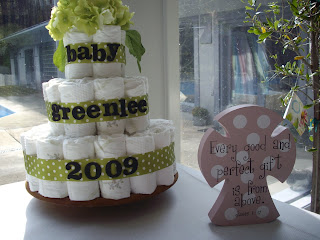
STEP 4: Making the base


(yes, I know it's off center, but I didn't correctly anticipate how many diapers I needed and guess what....it still turned out ok)
STEP 6: Choose your ribbon colors!!
Just go nuts on this part. I've seen some great looking diaper cakes with think brown ribbon and a pink thinner ribbon layering it. I wanted to keep my cake simple with the theme, so I chose a soft green. Use this to cover up the rubber bands...might I suggest using double sided tape??
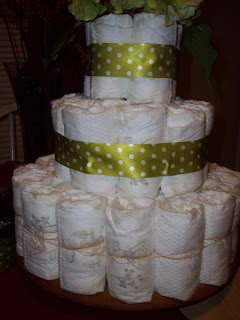
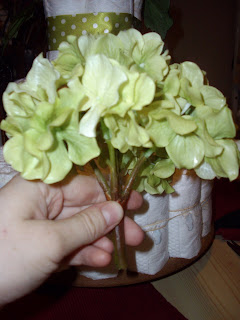
STEP 7: Pick your "topping"
Some diaper cakes I've seen have a bear sitting on top, or a bottle, or a kid-sized basketball. Again, I wanted to compliment my theme. So I found some beautiful fake green hydrangias (sp?) at Hobby Lobby that fit the top of the cake PERFECTLY (it didn't hurt that they were 50% off!). Then I used some wire cutters to cut of the stem and stuck that sucker right in the middle of the top layer.
STEP 8: Adding your decorations
Again, make this as fun as possible and with your theme! For baby boys, you can stick little tenis shoes, baseballs, etc. For girls, teddy bears, tiny ballet shoes, etc. I've seen some really cute cakes where the person turned it into a gift basket and added pacifiers, bottles, baby food and have it draping off the cake. Again-me-theme...plus I wanted to tie in black from the picture frames used for decorating without looking too "dark" So I kept it simple and made it personal.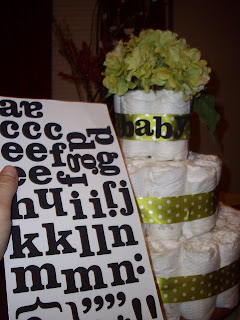
 So there ya have it folks!!!! what do you think? Was this "how to" helpful? Would you like to see more "how-to's"? Did it wear you out like it did my baby girl??
 Leave a comment and let me know what you all think!! Peace and Love!
That looked so fun! and easy, which often makes crafting more fun because when you have an idea of the finished product, you want it to come to fruition as fast as possible.
ReplyDeleteI have to say, that as cute as it is, I still can't fully accept the word, "Diaper cake." *blegh*